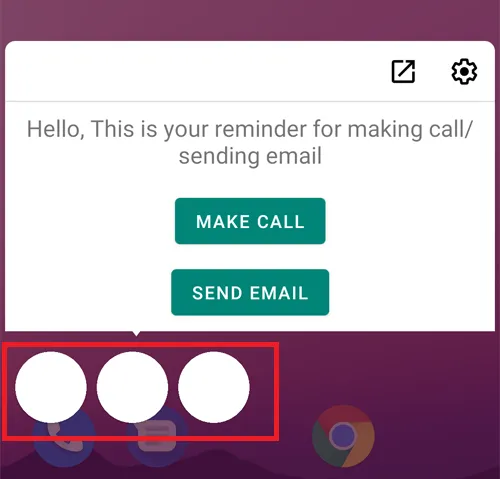
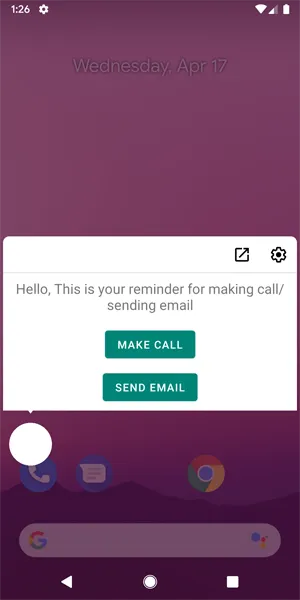
It’s been a while nice Android Q Beta preview was released. With it came an exciting new feature of Bubbles– a new way for users to multitask and interact with your app for performing important tasks like marking/unmarking items on a todo list, replying to a chat message, or performing a task within your app without having to leave current app.
Bubbles are built into the Notification system. They float on top of other app content and follow the user wherever they go. Bubbles can be expanded to reveal app functionality and information, and can be collapsed when not being used.
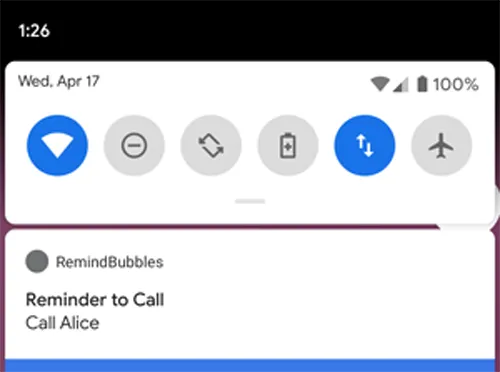
In this article, I am going to demonstrate a sample for implementing Bubbles for a simple reminder app where a bubble pops up at a user-specified time to remind and enable the user to make a call or send an email.
Before I begin, Joe Birch has written an excellent piece exploring the Bubbles API and various methods related to it. I suggest you check it here before reading further.
Prerequisites
First things first- Prerequisites for implementing bubbles are:
- The latest preview version of Android Studio 3.5 Preview
- Android Q Preview SDK
- Get Android Q Beta for Android emulator or your pixel device
- Update build configuration in your app’s build.gradle to target android-Q
That’s it! You are now ready to implement Bubbles for your app!
Building Bubbles
The Bubble view is nothing but an activity that is specifically configured to be resizeable, embedded, and always launched in document UI mode.
- allowEmbedded=”true”- Indicates that the activity can be launched as the embedded child of another activity.
- resizeableActivity=”true”- Specifies whether the app supports multi-window display.
- documentLaunchMode=”always”- If your app shows multiple bubbles of the same type, the activity is launched in multiple instances.

Bubbles are created via the Notification API. Therefore, to send bubbles we need to follow these steps:
- Create a PendingIntent to specify the bubble activity (activity shown inside the bubble)
2. Create BubbleMetadata object via Notification.BubbleMetadata.Builder and specify the target bubble intent (to be opened when the user clicks on the bubble) with .setIntent().
3. Add this BubbleMetadata object to a notification via setBubbleMetadata()
Note: Although we can set the icon via setSmallIcon(), the icon is not displayed in Q Beta 2.
4. Set up notification channels for ≥ Oreo as usual and display the notification.
Final Output


Note: This is from the Android Q Beta 2 release and there are a lot more releases planned for Android Q and they are just getting started with bubbles so there might be some changes and many additions to this initial preview.
Check out the full source code for my sample here.


